Timber Decking
Wood Campus Timber Trade Topics are produced in collaboration with the Timber Trade Federation and our industry experts, in this case, the Timber Decking and Cladding Association. For further information, visit www.tdca.org.uk.
TOOLS
-
drill
-
plane
-
hammer
-
spirit level
-
set square
-
handsaw
-
screwdriver
MATERIALS
- random length/width 25mm/38mm oak or pressure treated pine for deck boards
- 50mm x 100mm pressure treated timber
- 75mm x 75mm posts treated to Use Class 4 (optional)
- 50mm/63mm stainless steel screws • 100mm wire nails
- metal post holders (optional)

MAKING THE SUBFRAMES
Mark out the area planned for your walkway, preparing it to make it as level as possible.
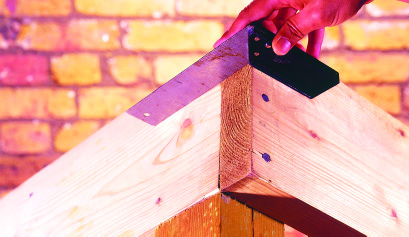
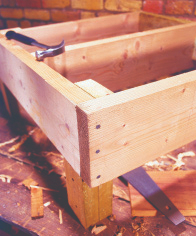
Make as many four-sided subframes as required. Nail or screw the frames together at the corners, ensuring they are square. Level the subframes by packing where necessary with bricks or timber, which can then be hidden by the surrounding soil.
If the framework needs to be sunk for further stability, dig holes to the required depth at each external corner and at 800mm centres along the length of the framed area.


THE JOISTS
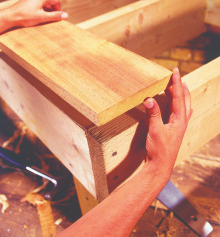
Fix 50mm x 100mm floor joist supports with 100mm nails into the frame sides at 400mm centres. These supports should run at 90 degrees to the way you are going to lay the boards. For extra stability, cut timber posts to fit from the top of the base to the bottom of the holes and screw them into the inside of the framework. The posts can be concreted in, or you can use metal post-holders.


THE BOARDS
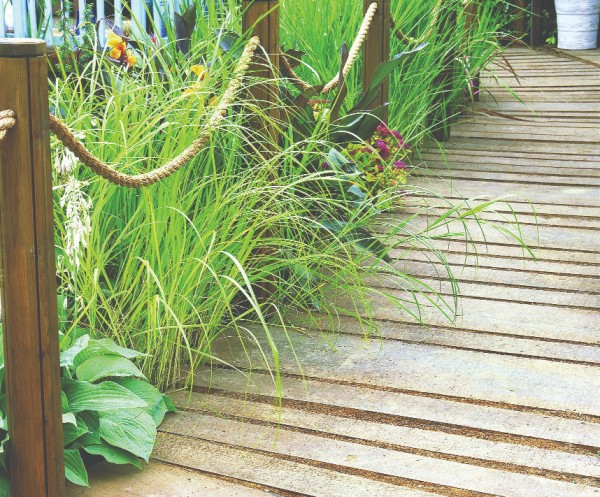
Lay the boards across the joists and insert the screws at a 45 degree angle into each joist support. If using random width boards, you can judge the gaps between each board accordingly. To create a rustic look, fill between the gaps with tree bark, soil or decorative chippings from ground level up to the boards’ surface.


